Thursday 5 December 2013

Screen Print Design - Digital Design


This piece of digital work was very successful as it looks almost identical to the original picture and could be used to print as a repeated pattern on the fabric that I am going to use to make my garment.

High Street Collection Based On Circus Cabaret - Digital Design


This piece of digital work links very well with my gothic theme and the colour scheme is identical to the one on my mood board. Also the dress and skirts styles are in fashion now and are being sold on the high street meaning that both aspects of my designs meet the requirements.

Wednesday 4 December 2013

Interviews, 2013 Compared To The 80's - Contextual Studies

Interview with Chris, 2013.

1. Do you have a job and if so what is it?
   I work in a call centre and receive minimum wage.
   Does this affect what you wear?
   Occasionally, if I have work after college I have to wear a shirt and smart trousers but otherwise no.
2. What music do you listen to?
Alternative music such as 30 Seconds To Mars, My Chemical Romance, Bring Me The Horizon and Lady Gaga.
Does this affect what you wear?
Yes. I wear dark clothes, nail varnish, eyeliner and band t-shirts.
3. What do you do for fun?
Get drunk, go to parties, have sleepovers.
Does this affect what you wear?
Not really apart from the fact that I try harder to look nice.
4. What is your hair like?
I dye it expressive colours.
5. Who is your icon?
Lady Gaga.
Does this affect what you wear?
I wear more extreme clothes and try to be out there with my look.
 
 
Interview with my dad, 1980's.
 
1. Did you have a job and if so what was it?
I was a paper boy, worked in a chippy and in a restaurant.
Did this affect what you wore?
I had to wear a uniform in the chippy and restaurant but outside of work no it didn't.
2. What music did you listen to?
Heavy metal such as White Snake, Queen, Def Leppard and Iron Maiden.
Did this affect what you wore?
Yes, I work band shirts and had a leather jacket with tassels.
3. What did you do for fun?
Went to the swamp, played on a rope swing, played football.
Did this affect what you wore?
No.
4. What was your hair like?
It was a little longer than it is now and more curly. Instead of falling down my face it was quite high.
5. Who was your icon?
Daley Thompson.
Did this affect what you wore?
I tended to wear sporty clothing.
 
 
2013 doesn't seem to differ too much from the 80's. The differences shown in my two interviews are that people these days tend to be more expressive and wear more makeup. Also the difference in what they do for fun, these days people tend to go out and party and get drunk whereas in the 80's people did more sport and had fun outside.


Christian Dior Exhibition - Contextual Studies

 
This is a dress made entirely of pins. There is a simple black fabric in the shape of a dress on the mannequin and 1000's of pins are pushed through the fabric from the inside out. I find it interesting the way that the pins have been pushed through to make the skirt of the dress look pleated.


 1920's fashion.
 
 
1930's fashion.
 
 
1940's fashion.
 
 
1950's fashion.
 
 
Jackets with embellishment to add detail.
 
 
 Outfits designed by Christian Dior in the 1950's.
 
 
This was a dress designed by Christian Dior in 1949. It is classed as the 'New Look' because the silhouette is an hourglass shape. This will have been a dramatic change to women's clothes compared to the wide shouldered, slim waist outfits from the early 1940's.


The dresses shown above are all designed in either late 40's or early 50's by Christian Dior.
 
 
Haute Couture is a dress tailored specifically to a client's measurements and stance. Only one of the garment is made and is made more for the runway than for everyday wear. It is usually sewn by hand and without the use of over lockers or sewing machines. It is also usually made from expensive, high quality, unusual fabrics. 


All of the dresses from the Christian Dior exhibition have an hourglass silhouette, meaning that they are wider on the shoulders, pulled in at the waist and wider again on the hips. The dresses are specifically designed like this to make the women wearing them feel sophisticated and elegant. The clothes shown from the shop report are either, baggy and do not have specific shape to them
, or straight up and down giving hardly any shape.

Samples For Final Garment - Design


I like the idea of the gathered collar for my garment. I think that if I was to use this I would layer the gathering a few times to get a huge, over exaggerated collar. I also like the deep purple ruffles. The lacy, netted skirt which ends just above the knee but flows longer at the back is also a great idea and clearly comes from the illustration in my research by Jorgen Simosen.

T-Shirts With Stripe Design - Digital Design


Fashion Through The Years 1990-2010 - Contextual Studies


Refined Designs For Circus Cabaret With Colour - Design


These designs are very successful as the colour scheme clearly links in with the Gothic Burlesque theme and different pieces of my illustrations have come from different pieces of research. The style of the skirt comes from the photo by Nick Knight of a piece of Alexander McQueen's work in 1998. The corset idea has come from my research into the Gothic Burlesque theme and the ruffled collar had come from the illustration by Antonio Berardi.

Rough Designs For Circus Cabaret - Design


These rough designs fit well with my theme for the Circus Cabaret which is Gothic Burlesque. The corsets and wide, ruffled collars clearly originate from the Victorian and Elizabethan eras and the hourglass silhouette's on most of the designs come from Christian Dior's 'New look'.

Extracting Details From Garments - Design


Fabrics Matched To Garments - Design


Tuesday 3 December 2013

What Affects Fashion - Contextual Studies

  • Music
  • Celebrities
  • Travel
  • Culture
  • Technology
  • Colours
  • Politics
  • Religion
  • Seasons
  • Age

Thursday 28 November 2013

What To Include On A Flat Design - Contextual Studies

  • Colours
  • Measurements
  • Fabrics
  • Pockets
  • Pleats
  • Gathering
  • Patterns
  • Embellishments
  • What is it? T-shirt, Skirt etc.
  • Who is it for? Male, Female, Child
  • Pattern shape

How To Annotate - Digital Design

When annotating research always say how the research will be used.
When annotating something that is not research always link it to the research.
If annotating something that you do not like always say why and always mention why it is not useful to you.

Shops based in the U.K. - Digital Design

Next - Enderby, Leicestershire
Topshop - London
River Island - Ealing, London
New Look - Weymouth, Dorset
Jack Wills - Devon

Tuesday 26 November 2013

Historical Fashion - Contextual Studies

Fashion changes in history:
  • Style
  • Colours
  • Patterns
  • Hair Styles
  • Makeup
  • Poses
  • Accessories
  • Materials
  • Techniques
  • Processes
Where we find information about historical fashion:
  • Films
  • Photographs
  • Museums
  • Vintage shops
  • Books

Differences Between High street and High End Fashion - Contextual Studies


Desigual - High Street

  John Galliano Circus Collection - High End

Similarities:
  • Colourful
  • Both have a circus theme
  • Patterns
  • Dresses
  • Designed for females
Differences:
  • How easy they are to make
  • Time taken to make
  • Cost
  • Materials
  • Techniques
  • Size
  • Quality
  • Quantity

Thursday 21 November 2013

High Street T-shirt Circus Collection - Digital Design

To create these t-shirts I chose an image from my Gothic Burlesque mood board and using that, with my colour palette, I played around a little to design this collection of six t-shirts. The colour scheme is identical to the one on the mood board I created and the t-shirts are easy enough to be made in batch and sole on the high street.

Sunday 17 November 2013

Cutting on the Fold - Design


Cutting on the fold is where you fold the fabric you are using and draw around the pattern with the straight edge of the pattern against the fold. When you then cut this pattern out and unfold the fabric you have a shape twice the width of the pattern.
S.A. is Seam Allowance which is usually 1.5cm.
H.A. is Hem Allowance which is usually 5cm.
Z.A. is Zip Allowance which is usually 3cm.
C.F. is centre fold and C.B. is centre back.

Saturday 9 November 2013

Workshop Diary - Design


First I cut out the skirt pattern and drew around it on the fabric on the fold line. Next I cut out the fabric and when I unfolded the fabric I had the front part of the skirt.


Next I drew around the back pattern onto a folded piece of fabric so that when I cut it out there were two pieces of fabric the same size and shape.


Next I sewed the front piece of the skirt to the two back pieces.


After that I sewed the two back pieces of fabric together and left a small gap for a zip.


Finally I turned the fabric inside out and ironed it to end up with the skirt shown above.


To make the pants I first cut out the patterns and drew round each of them onto a folded piece of fabric to end up with four separate pieces of fabric. With the two front pieces I sewed along the curved edge and left a gap for the zip. I did the same with the back pieces but didn't leave a gap. After this I placed the front pieces on top of the back pieces and sewed along each edge. To finish I turned the pants inside out and ironed them to end up with the pants shown below.

 
9th December 2013


To make the shirt I cut the out the pattern and used knotchers to mark out the top of the dart and the drill pattern to mark out the holes on the dart pattern.


Next I drew around the front pattern on the fold line of the fabric and marked in the notches and holes.


I then drew around the back pattern onto some folded fabric to eventually end up with two identical pieces of fabric. I also marked on the holes.


After this I cut out the patterns to end up with the three pieces of fabric shown above.


Next I sewed along each of the darts on the front and back of the shirt. I then sewed the sides of the shirt together and also the back just to keep the shirt neat but you should usually keep the back open to put in a zip or buttons.
16th December 2013


To make the stretch body toile I drew around the pattern and added a seam allowance of 1.5cm. Then I cut out the pattern and drew around it onto some stretchy fabric.


The fabric was folded so that when I cut it out I ended up with two front pieces and two back pieces.


When I had cut out all the pieces of fabric I used a hem locker to attach the two front pieces together and the two back pieces together. After I had done this I sewed the front and back pieces to each other leaving arm and leg holes and a hole for the head. The finished garment is shown below.


13th January 2014
This week I have used a pattern of a corset to create a sample. I think this was important so that I know how to put my corset together next week and not waste fabric that has been printed onto with my textiles print. The size of the corset is perfect for my model however is shown on the mannequin being wrapped around as the mannequin is smaller than my model. On the actual corset I make there will be holes to thread ribbon through to hold the corset together. I like the length of the corset as it is not too long that it will interfere with the skirt that I make. The corset links to my research as it relates to the gothic aspect as gothic dress tends to include tightly laced corsets.


As you can see on the above picture the corset overlaps on the mannequin however this is because the mannequin is a smaller size than my model and I have made the corset the right size for my model. Also the corset is just pinned onto the mannequin here as it is a sample whereas on the actual corset I will add eyelets and lace the corset together with ribbon.


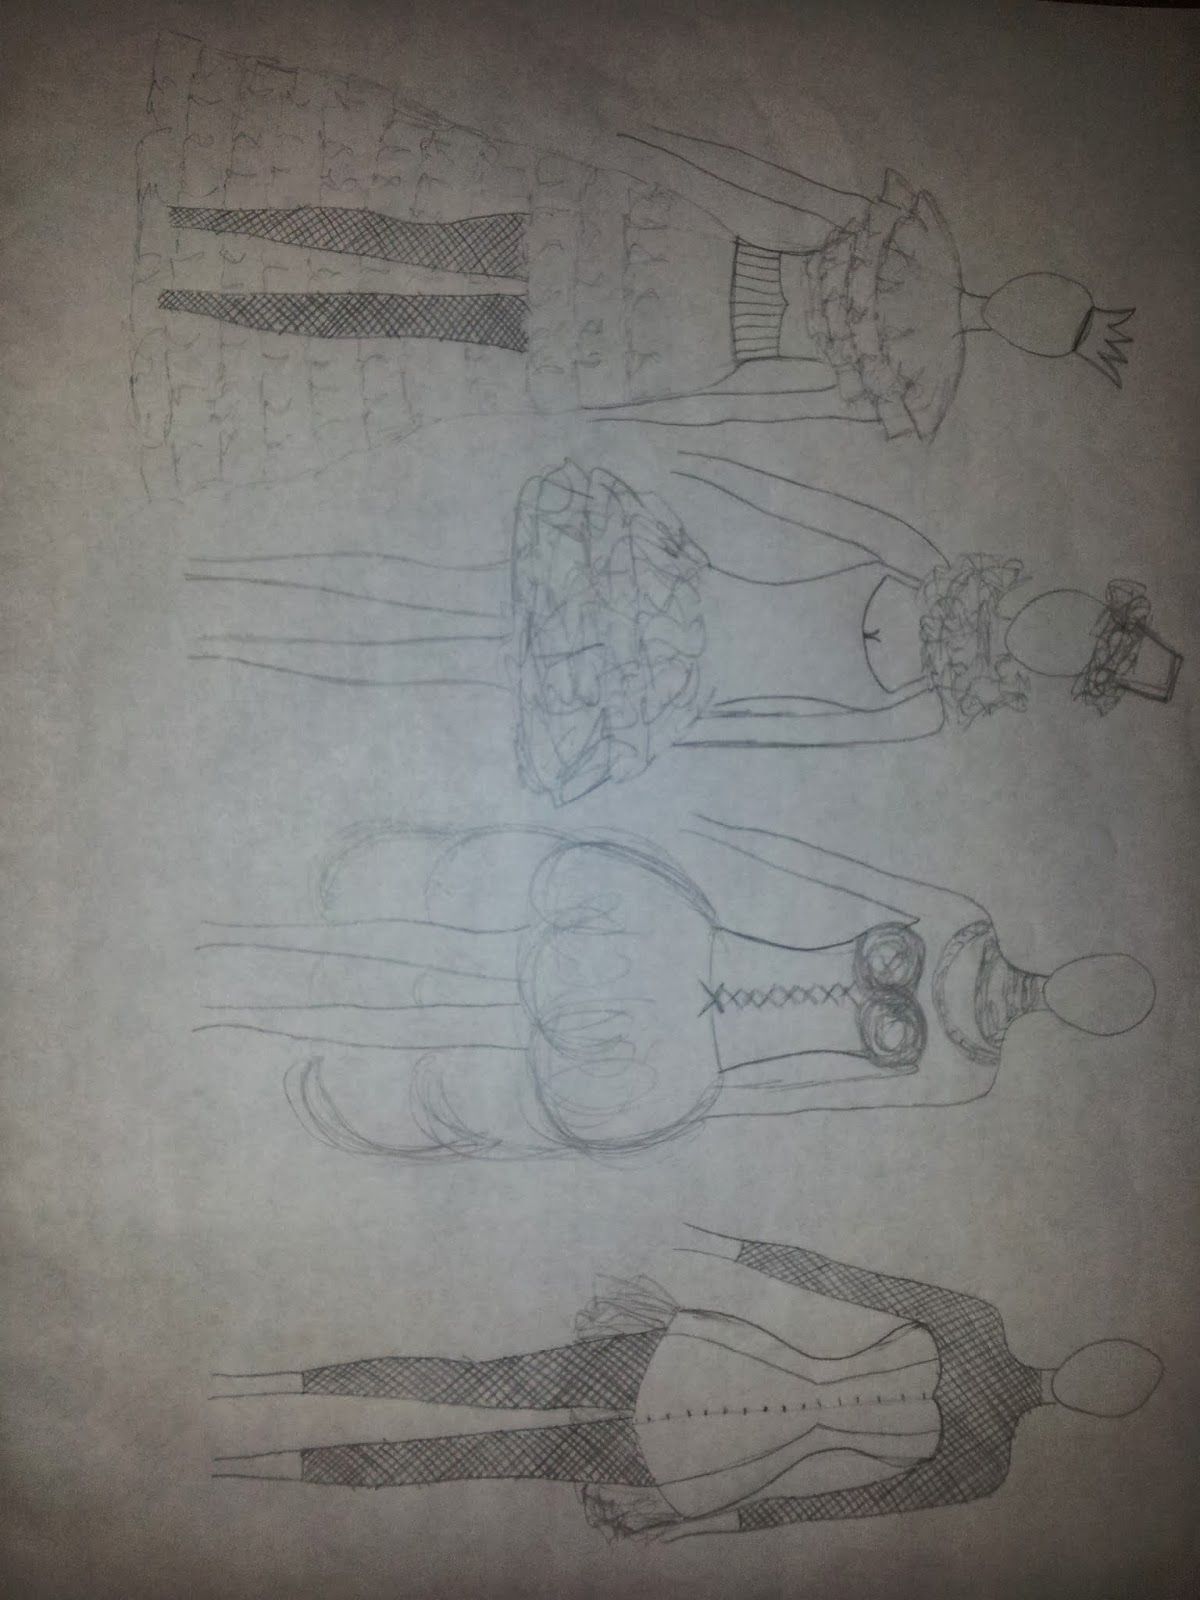
The corset clearly links back to my research in the pictures by Jeanloup Sieff, 1962 and Miles Aldridge 1996.


20th January 2014
This week I repeated the process from last week however I used three different fabrics so that I could have different panels on my corset. I used black velvet on the front panel, my printed fabric from my textiles lesson for the second and fourth panels and a lace with a skull pattern ontop of a burgundy fabric for my third panel.


As you can see on the picture above the corset overlaps but this is because the mannequin I have used is smaller than the size of my model and the corset is obviously made to the size of the model. I have used the colours burgundy and black because these are colours commonly used in gothic dress and burlesque dress. This means that the colours fit perfectly with my theme. The fabrics velvet and lace also both fit in with my theme because these are fabrics commonly worn in gothic dress. I chose a black lace with skulls on it to give it that gothic, mysterious edge. The fact that I am making a corset also strongly links with my theme as tightly laced corsets are quite common in gothic dress and corsets are definitely worn in burlesque dress.

27th January 2014
This week I cut out the lining for my corest, sewed all the pieces together and then sewed it to the front layer of my corset. After I had completed this I added a small piece of calico inside each end panel of my corset, folded the edges in and sewed the end. Finally I added my eyelts and laced my corset together with black ribbon. The pictures below show this process.


As you can see I have used velvet and lace to fit in with the gothic theme and black and red colours to fit in with both the gothic and burlesque parts of the theme. I have included the patterned fabric which I produced in my textiles lesson and I have used a skull lace to fit in with the gothic theme. Next week I will move on to making my skirt.

3rd February 2014

To make the skirt I started by cutting out four hoops from metal boning. The hoops got larger the further down they went. I then measured the hoops and made tubes from black velvet to cover the hoops, I threaded the hoops through the velvet and sewed the velvet together around the boning so that the hoops were then fully covered. When this was complete I attached the hoops to a mannequin using string so that I could measure the length needed for the long strips of fabric that would eventually hold the hoops together. I made five of these strips from the printed fabric and sewed them to a belt made from velvet. Finally I sewed the strips to the hoops and my skirt was complete.